Dental veneers: the step-by-step process
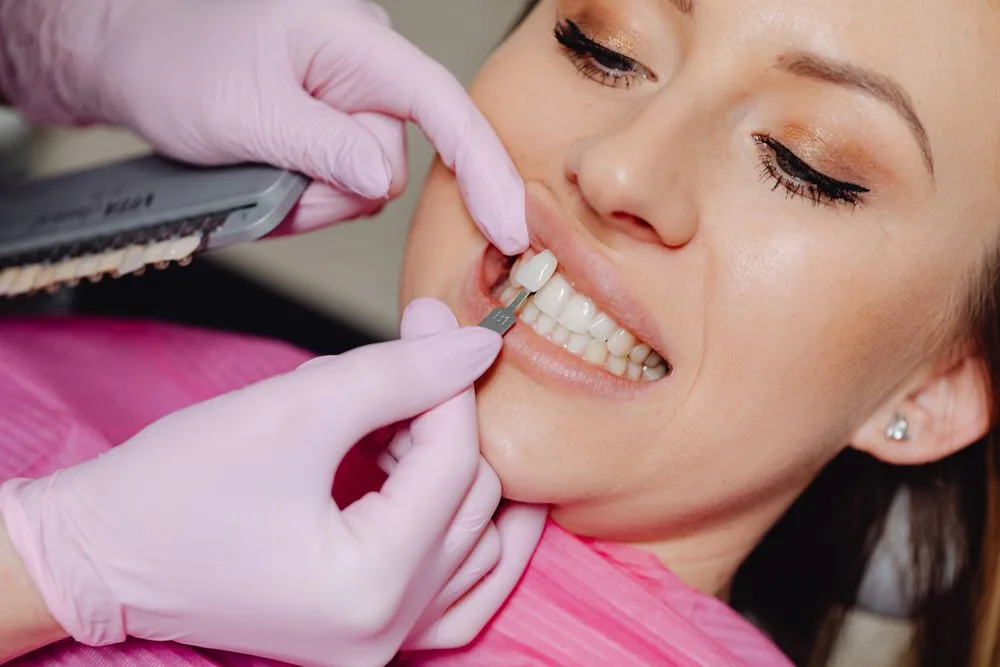
Placing veneers is a planned process aimed at a natural result. Here it is, step by step.
1. Assessment and smile design
Your smile, face and goals are analyzed. With photos, models or digital tools the result is designed and, in many cases, you can preview it before starting.
2. Tooth preparation
Depending on the type of veneer, a minimal reduction of enamel may be required so the veneer sits well and looks natural. In some ultra-thin cases, the reduction is minimal or none.
3. Measurements and temporaries
For porcelain veneers, measurements or a scan are taken and sent to the lab. While they're made, you can wear temporaries so your aesthetics aren't affected.
4. Try-in and bonding
The veneers are tried in to check color, shape and fit. When everything is perfect, they're bonded permanently. For resin veneers, the shaping is done directly in the mouth.
5. Final adjustments and care
The bite is checked and details polished. We explain how to care for them so they last as long as possible.
The secret to natural veneers is in the prior design, not the final bonding.
Frequently asked questions
How many visits does it take?
Resin ones can be done in one visit; porcelain ones usually require two or more due to lab work.
Can I see the result beforehand?
Yes, with a smile design and preview you can have a clear idea before starting.
Does the process hurt?
We work with anesthesia if needed; most describe it as a comfortable procedure.
Start your smile design
Book your aesthetic assessment and plan your result step by step.
Book appointment